3D Printing Tips


Temp icon.jpg

Temperatures:

Check out our ColorFabb LW-PLA page to learn how to print with LW-PLA. For standard PLA, we see good results printing at 220ºC with a bed temperature of 70ºC. Experiment with your particular printer and brand of material to ensure proper layer bonding but you will likely land somewhere between 210 and 240ºC with PLA.


Cooling Fan:

Typically, PLA is printed with the fan set to 100%. However, this can cause layer bonding issues when printing thin walled aircraft. We have experienced nice , clean outer surfaces when keeping the fan speed up to 20% without negatively affecting layer bonding. Experiment with fan speeds set between 0 - 20%.

Fan Icon.jpg


Extrusion Width:

You will need to experiment with extrusion width for your particular printer and material. You will likely land somewhere between 0.95 and 1.05 extrusion width.


Elephant’s Foot:

Try to avoid the first few layers of each print from squishing too far outside the designed wall dimensions, also known as “elephant’s foot”. This can be caused by your nozzle being too close to the print bed or first layer width set too high in your slicer. A small amount of elephant’s foot is okay but too much will interfere with the designed alignment aids.


Support Structure icon.jpg

Support Structures:

A few of our aircraft’s parts require support structures. The specific parts that have supports built into the STL or Gcode are noted in the build guides.

 
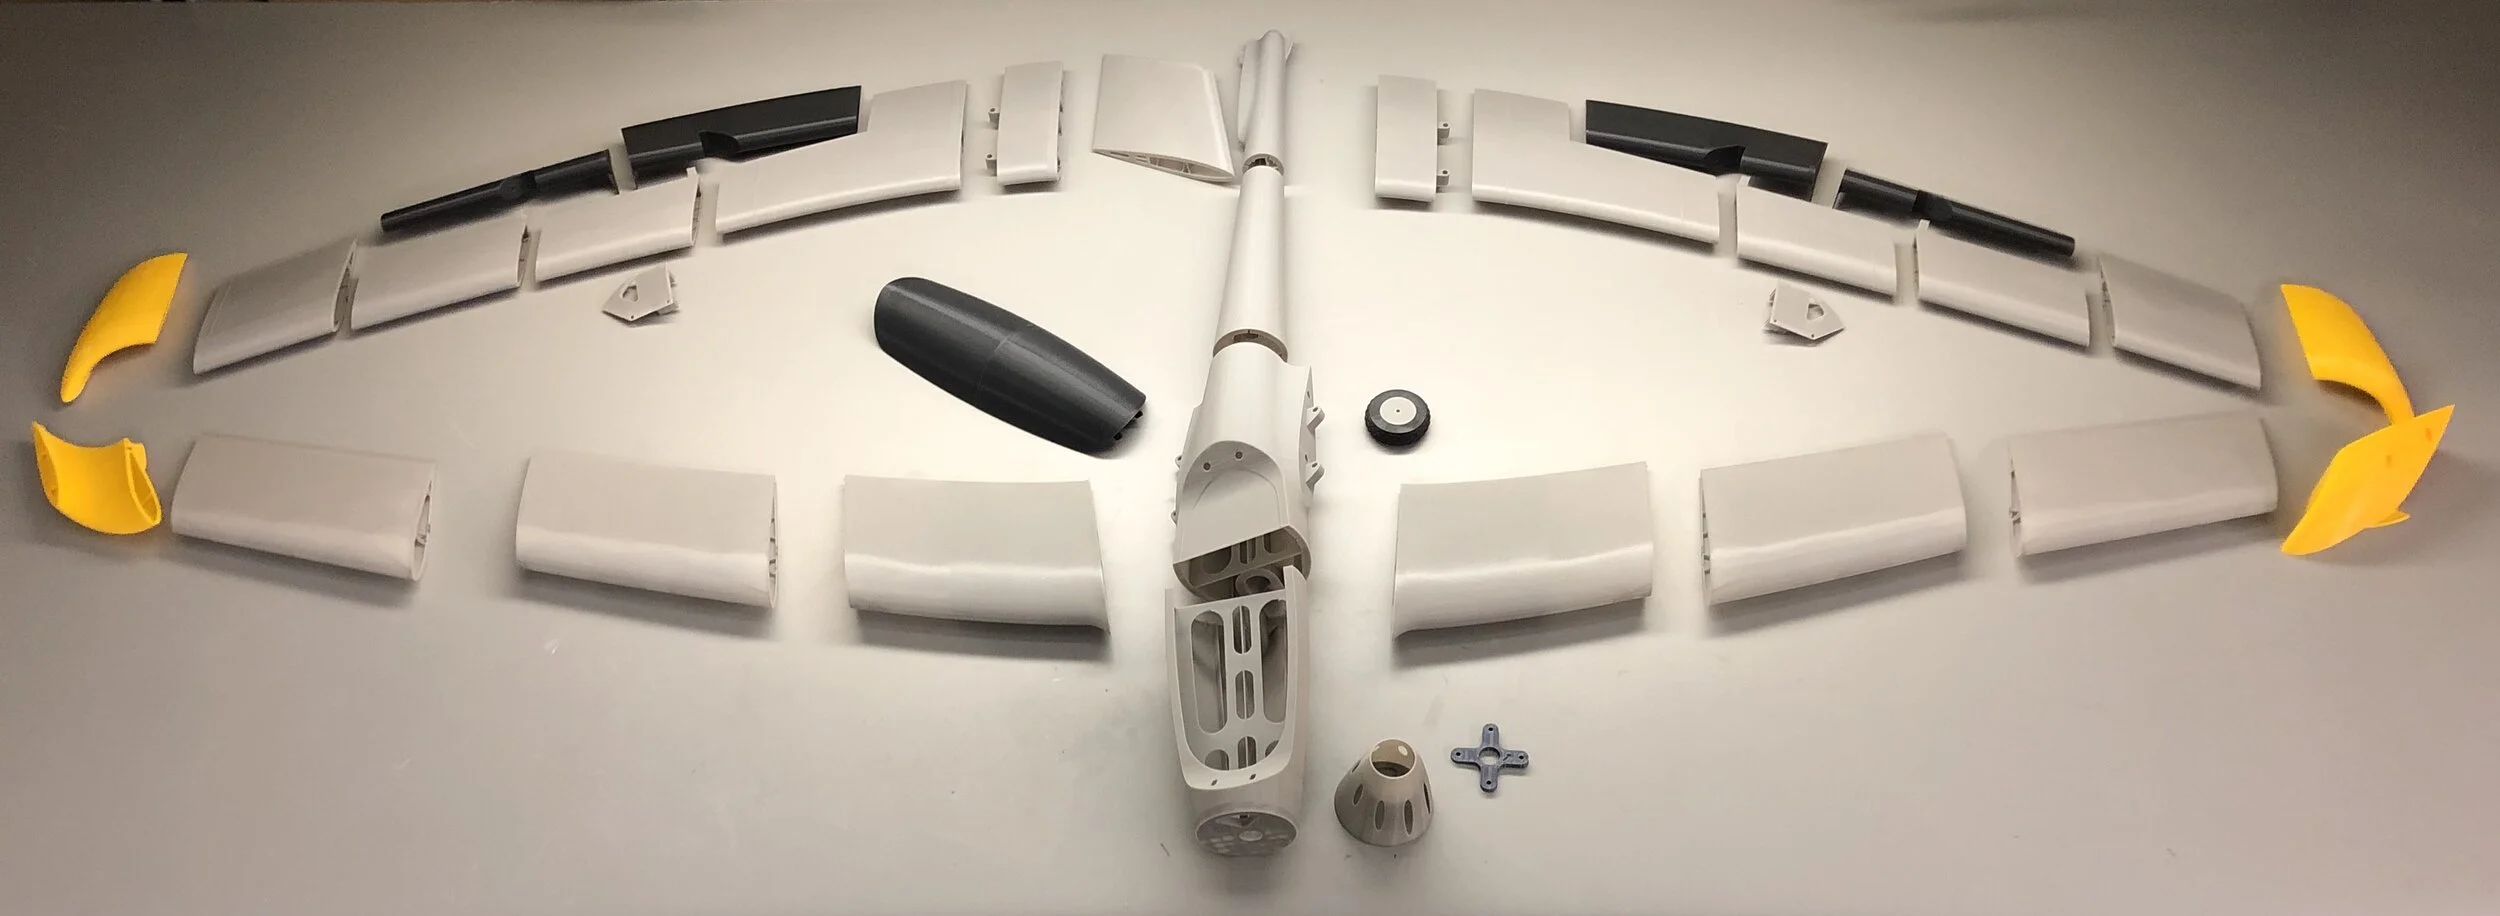
InfinityWing Printed

Build Tips


A note from the designer:


Some of the recommended products below contain affiliate links. By clicking these links and making a purchase on that vendor’s website it is no additional cost to you, but it helps support 3DAeroventures by throwing us a few cents per transaction. Every little bit helps me continue to create fun and informative content and enjoyable products.

I will only recommend products that I personally use on my own aircraft.

Thank you for your interest and support.

- Eric Haddad


CA/Super Glue:

PLA, PETG, ABS, ASA, and PC all glue together nicely with common CA Glue (Super Glue). A medium bodied CA glue will help fill minor gaps, and we recommend using a CA Accelerator to cure bonds instantly. Links to recommended products:


Hardware Tips:

Heat Set Threaded Inserts:

Many of 3DAeroventure’s designs incorporate heat set brass threaded inserts in areas that require a strong thread that will get repeated use, such as removable wings and tail surfaces. These threaded inserts are an inexpensive, strong, and easy-to-install solution. They are easily recessed into 3D printed parts using a soldering iron. We’d recommend incorporating these into other 3D printed parts such as enclosures, mounts, or anything else that requires a stronger thread than screwing directly into the plastic. We buy them in the U.S. from McMaster-Carr or they are available globally on Amazon:


Servo Extension Safety Clips:

The last thing you want in the middle of an epic flight is for your servo leads to disconnect. It’s recommended to incorporate some sort of clip or other method to secure servo leads and servo extension leads. You can use electrical tape, small zip ties, or these safety clips, which are available on Amazon or you can 3D print your own!


Electronics and Radio Gear Tips:


Motors, ESC, and Servos:

We’ve put a lot of work into finding high quality motors, ESCs, and servos that are also budget friendly. Leopard motors are some of our favorite electric motors for the money. They are powerful, budget friendly, and high quality. We pair them with Hobbywing Skywalker ESCs, and EMAX servos. We recommend Altitude Hobbies as a U.S. vendor for all of these products and other R/C electronics. Or, Hobbywing and EMAX sell on Amazon.


This section will be constantly updated with fresh tips and maintaining links to recommended products. Stay Connected with us.