How to Print with Colorfabb LW-PLA


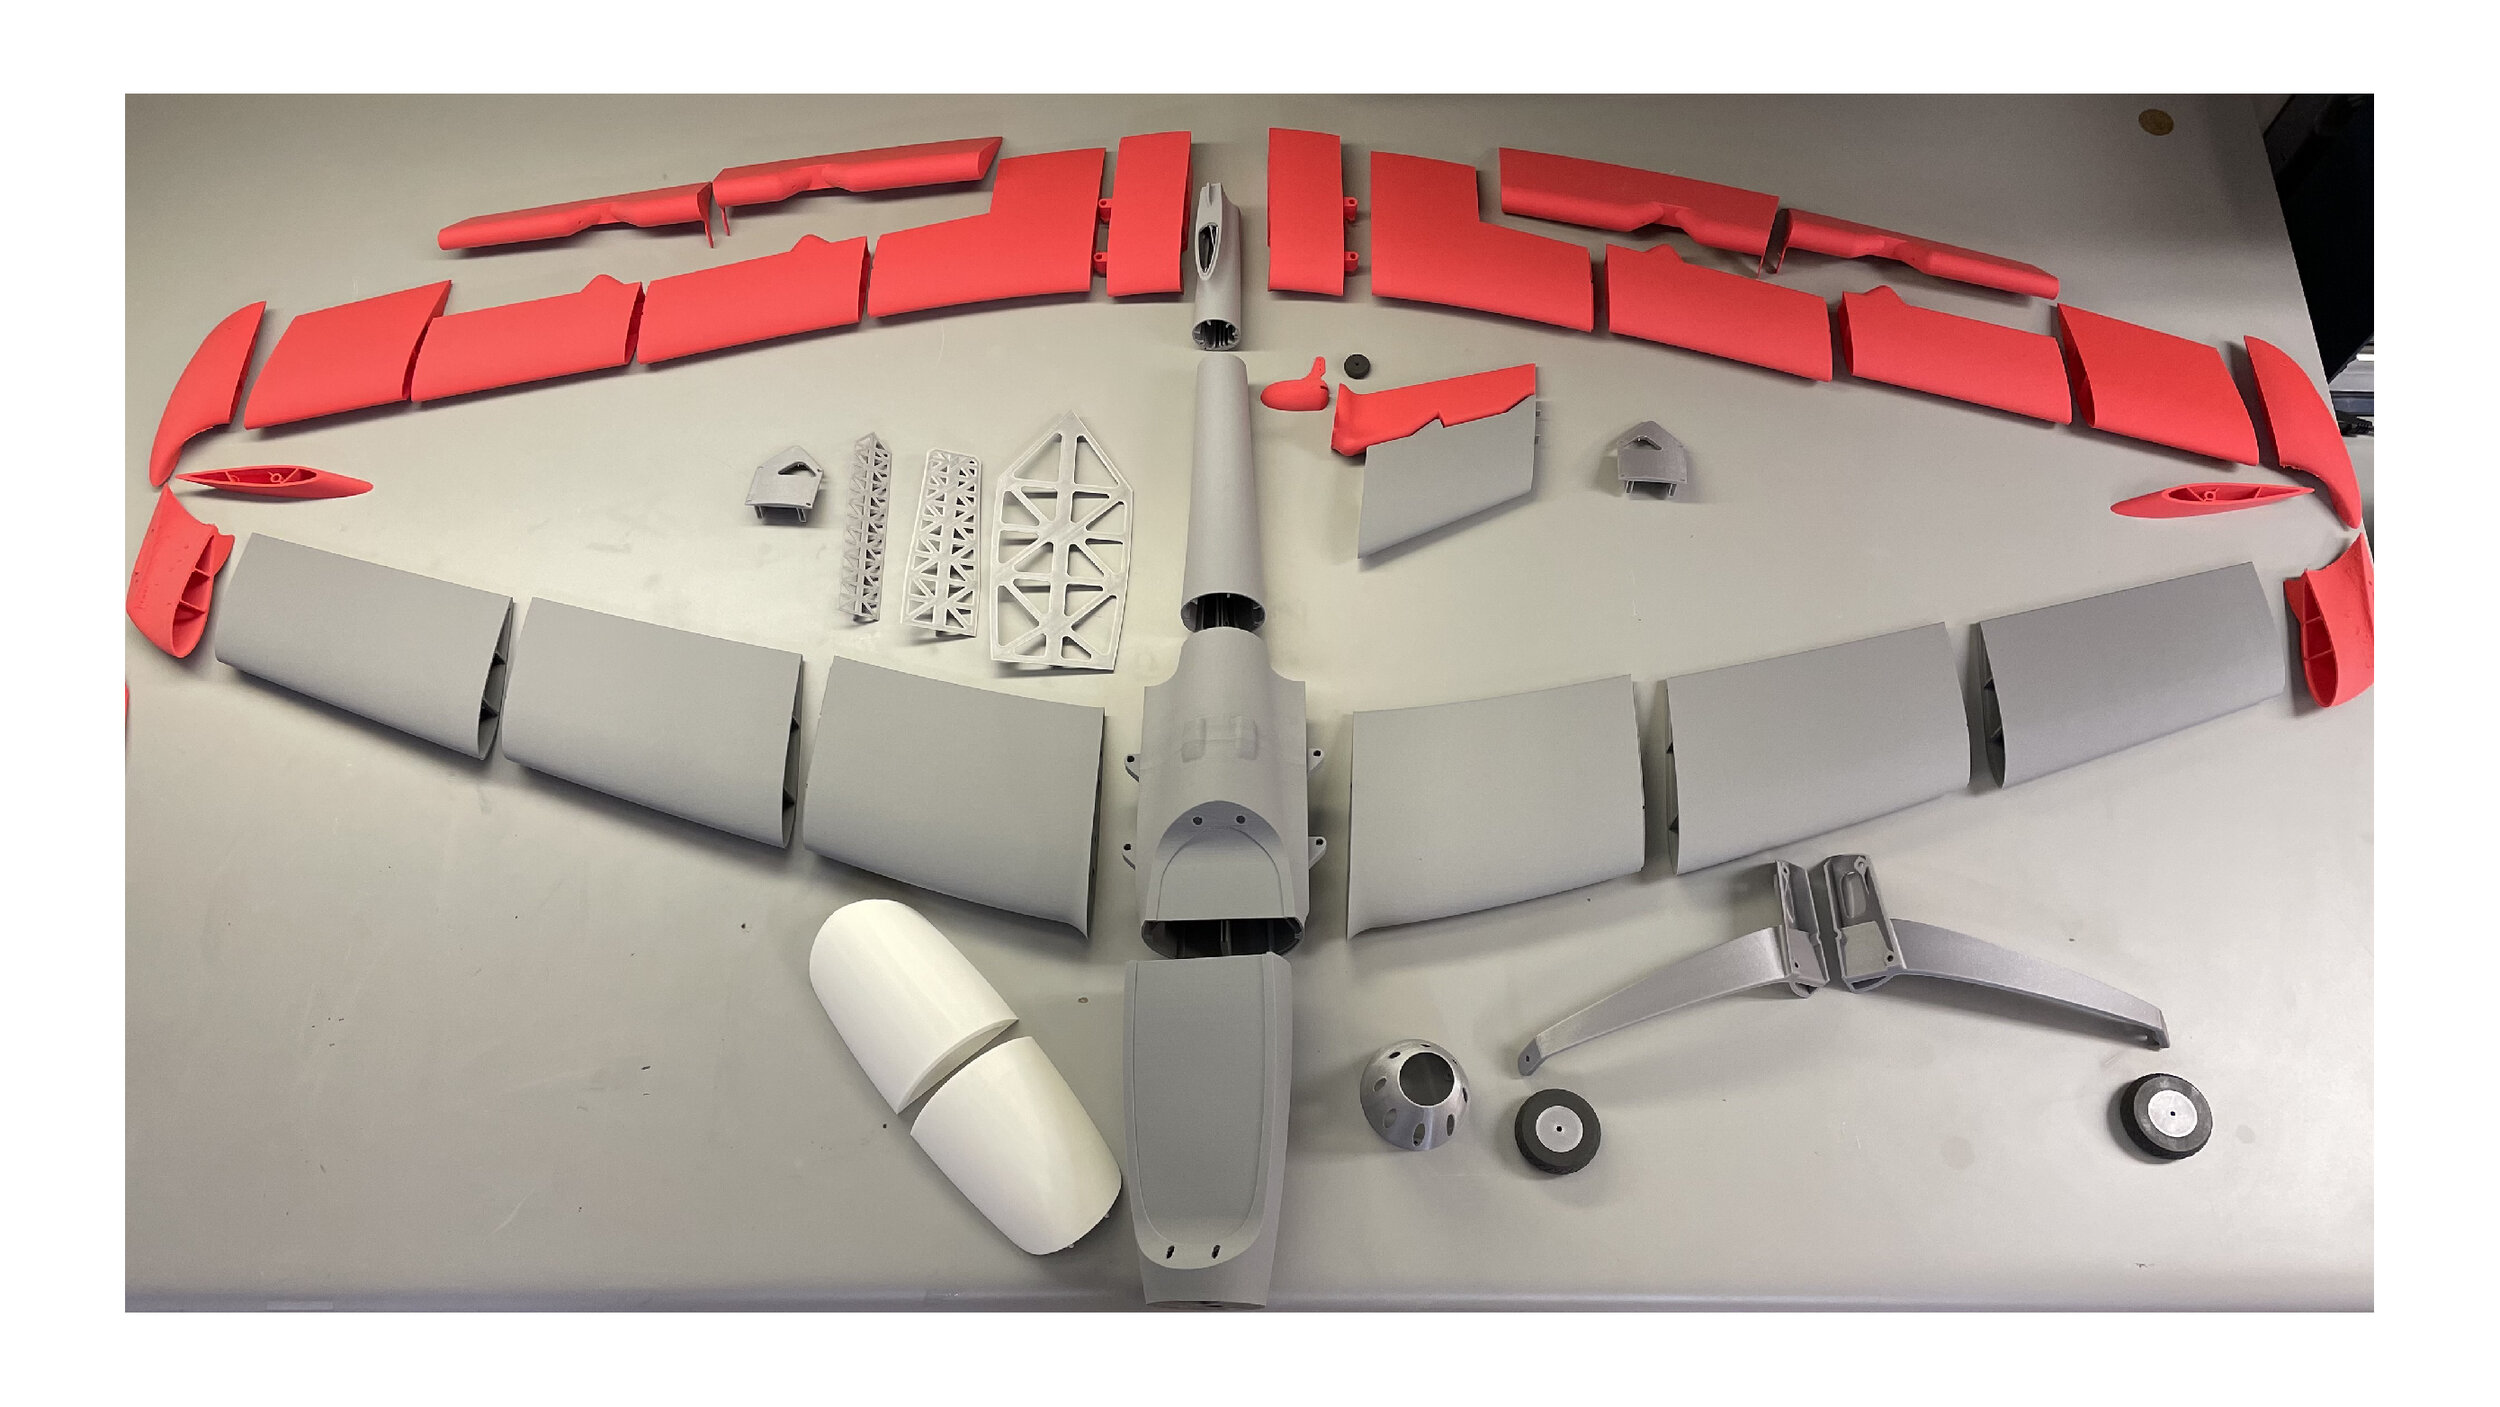
LW-PLA is a unique filament specially suited for RC flight and it’s the first filament of its kind. It uses an active foaming technology to achieve lightweight, low-density printed parts. At around 230C LW-PLA starts foaming and it increases its volume by nearly 3 times. Decreasing the material flow to 35% or 40% in your preferred slicer allows you to achieve very lightweight parts. We’ve fallen in love with all of Colorfabb’s active foaming materials, and all of our aircraft designs are optimized to work well with these groundbreaking materials.

Download the Technical Data Sheet (TDS)

Download the Safety Data Sheet (SDS)


How Does colorFabb LW-PLA Work?

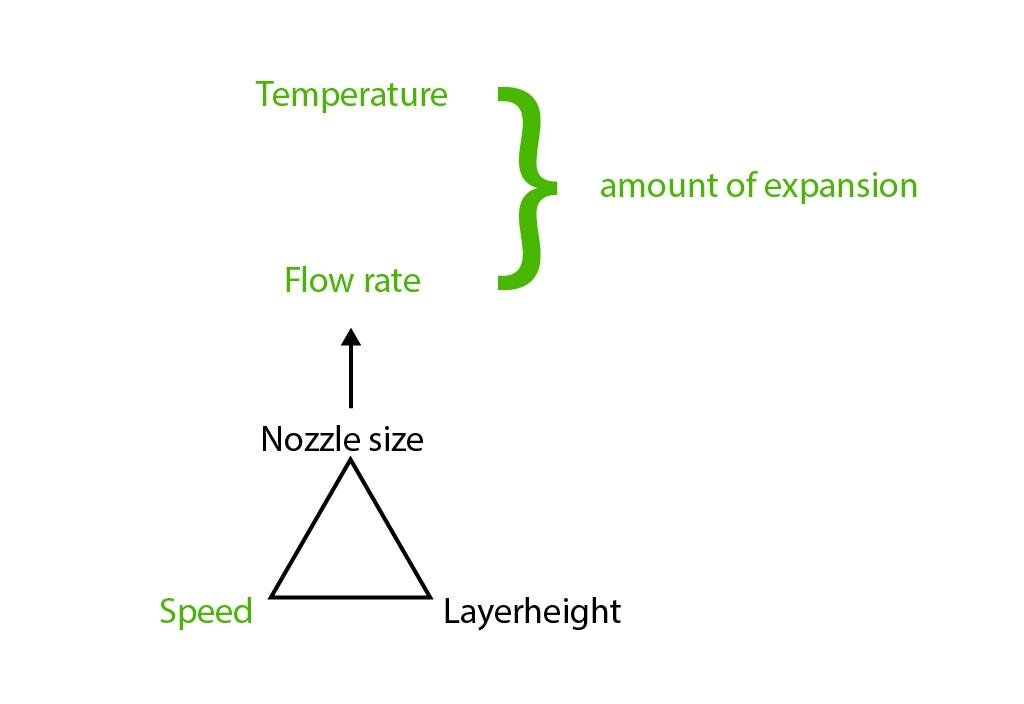
LW-PLA is a PLA material mixed with a foaming additive that activates at elevated temperatures. It will print much like standard PLA at lower temperatures (210C - 220C) but once you print above 230C the foaming technology activates. This foaming effect becomes more aggressive as you continue to elevate the temperature. The key to success when printing with LW-PLA is balancing between print temperature, speed, and flow rate. Once you’re printer and slicer settings are dialed in, you should achieve parts that match the wall thickness of the designed part, but are 35 - 40% the weight of the same part printed in traditional PLA.


How to Optimize your Printer and Slicer Settings for LW-PLA

In order to print parts that are dimensionally accurate and as light as possible, you need to determine how much the material will expand with your printer at different print temperatures. We do this by printing single perimeter test cubes at various temperatures and flow rates. You can download the test cube here. Then follow the following steps to dial in your printer’s settings for LW-PLA.

Alternatively, you can try using the slicer profiles we use for our direct drive printers:


Step 1

Print various cubes in 10 degree increments between 200C - 280C. Use the following settings to print the supplied test cube:

Bed Temp: 60C

Speed: 30 - 40 mm/s

Bottom Layers: 4

Top Layers: 0

Perimeter: 1

Infill: 0%

Cooling Fan: 0% for First Layer, up to 25% for subsequent layers


Step 2

Measure the wall thickness of each cube and note the temperature that gave you the cube with the thickest wall/highest expansion.


Step 3

Now, print various cubes, all at the same print temperature you determined in Step 2, but each cube at a different flow percentages. Print the first cube at 90% flow, then step down by 10% for each cube until your last cube is printed at 30% flow. Note that Cura calls this setting “Flow” and it is enteres as a percentage and Simplify3D calls this setting “Extrusion Multiplier” and it is entered as a decimal value (e.g. 0.4 instead of 40%)


Step 4

Measure the wall thickness of each cube and find the one that matches the nozzle diameter you are printing with. If you are printing with a 0.4mm nozzle then the wall thickness of your perfectly optimized cube should measure 0.4mm.

As a reference, we have had great success printing LW-PLA with the following settings:

Nozzle Temp: 250C

Flow Rate (Extrusion Multiplier): 40% (0.4)

Speed: 40mm/s


Watch Our Videos Featuring ColorFabb LW-PLA